Maintaining safety and hygiene is essential when you create your own Fleshlight. Using clean materials and following proper care ensures a safer experience while minimizing health risks. Neglecting these steps could lead to discomfort or infections, making preparation non-negotiable.
Creating a DIY Fleshlight at home offers several advantages. You can save money by using everyday items and customize it to suit your preferences. This approach also allows you to experiment with different materials, giving you a unique and personalized result.
Key Takeaways
- Keep everything clean by using washed and sanitized items. Wash your hands first.
- Pick soft things like sponges or towels to avoid irritation or harm.
- Check for allergies with materials before using them. This helps prevent bad reactions.
- Wash your DIY Fleshlight well after each use. Use warm water and gentle soap to keep it clean.
- Throw away single-use items properly to stay safe. Put them in a sealed trash bag.
- Try out different textures and materials to make it how you like.
- Use water-based lubricants for safety and ease. Don’t use oil-based ones as they can ruin materials.
- Think about the environment by choosing biodegradable or recyclable items when you can.
Safety Considerations Before You Create Your Own Fleshlight
Hygiene Practices
Using clean and sanitized materials.
When you create your own Fleshlight, cleanliness should be your top priority. Always start by washing your hands thoroughly with soap and water. This step reduces the risk of transferring bacteria or germs to the materials. Use only clean and sanitized items for your DIY project. For example, if you use towels or sponges, ensure they are freshly laundered and free from any residue.
Tip: Disinfect reusable items like rubber gloves or plastic containers with a mild antibacterial solution. Let them dry completely before use to avoid irritation.
Cleaning your DIY Fleshlight after use.
Proper cleaning after each use is essential to maintain hygiene. Disassemble the materials carefully and wash each component with warm water and mild soap. Avoid using harsh chemicals, as they can damage the materials or cause skin irritation. Rinse thoroughly to remove all soap residue.
Dry the materials completely before storing them. Moisture can lead to mold or bacterial growth, which poses health risks. If you plan to reuse the DIY Fleshlight, store it in a clean, dry place to keep it in good condition.
Material Safety
Avoiding harmful or abrasive materials.
The materials you choose play a significant role in ensuring safety. Avoid using items with rough or sharp edges, as they can cause discomfort or injury. Stick to soft, non-abrasive materials like sponges, towels, or rubber gloves. These items are gentle on the skin and reduce the risk of irritation.
Note: Never use materials that contain harmful chemicals or strong odors. These substances may cause allergic reactions or other health issues.
Testing for allergies or sensitivities.
Before using your DIY Fleshlight, test the materials for potential allergies or sensitivities. Place the material against a small area of your skin and wait for a few minutes. If you notice redness, itching, or discomfort, avoid using that material.
For added safety, opt for hypoallergenic materials whenever possible. This precaution minimizes the risk of adverse reactions and ensures a more comfortable experience.
Disposal Guidelines
Proper disposal of used materials.
Disposing of used materials responsibly is just as important as creating the DIY Fleshlight. Single-use items like plastic bags or gloves should be discarded immediately after use. Place them in a sealed trash bag to prevent contamination. Reusable items, such as towels or sponges, should be washed and sanitized before their next use.
Tip: If you’re unsure about how to dispose of certain materials, check your local waste disposal guidelines for proper instructions.
Environmental considerations.
When you create your own Fleshlight, consider the environmental impact of the materials you use. Opt for biodegradable or recyclable items whenever possible. For example, use natural sponges or reusable towels instead of disposable alternatives. This choice reduces waste and helps protect the environment.
If you must use disposable materials, try to minimize their usage. Small changes in your approach can make a big difference in reducing your ecological footprint.
Materials You’ll Need to Create Your Own Fleshlight
Common Household Items
Towels, sponges, and socks.
You can find many of the materials needed for this project right in your home. Towels, sponges, and socks are excellent choices due to their softness and flexibility. These items provide a comfortable base for your DIY Fleshlight. For example, you can use a dish towel or a pair of socks to create a soft, cushioned interior. Sponges, when paired with other materials, add structure and texture for a more customized experience.
Tip: If you’re using socks, opt for clean, thick ones to ensure durability and comfort.
Rubber gloves or latex alternatives.
Rubber gloves or latex alternatives are essential for creating a smooth, skin-like surface. They act as the inner lining, providing a safe and hygienic barrier. Medical gloves are a popular choice because they are soft, flexible, and easy to clean. If you have latex sensitivities, consider using nitrile gloves as a safer alternative.
Note: Always inspect gloves for tears or damage before use to avoid any discomfort or mess.
Lubricants
Safe water-based options.
Lubrication is crucial for comfort and safety. Water-based lubricants are the best option because they are gentle on the skin and compatible with most materials. They are easy to clean and less likely to cause irritation. You can find these lubricants at most drugstores or online retailers.
Tip: Look for products labeled as hypoallergenic to minimize the risk of allergic reactions.
Lubricants to avoid.
Avoid using oil-based or silicone-based lubricants. These can degrade materials like latex gloves and make cleaning more difficult. Additionally, oil-based products may cause skin irritation or clog pores, leading to discomfort.
Warning: Never use household oils or lotions as substitutes for proper lubricants. These can damage the materials and pose health risks.
Optional Enhancements
Adding texture for a customized experience.
Adding texture can elevate your DIY Fleshlight to the next level. You can use bubble wrap, Mardi Gras beads, or even duct tape to create unique sensations. For instance, wrapping bubble wrap around a sponge or towel adds a stimulating texture. Experiment with different materials to find what works best for you.
Tip: Secure textured materials with rubber bands or tape to keep them in place during use.
Creative ways to enhance comfort.
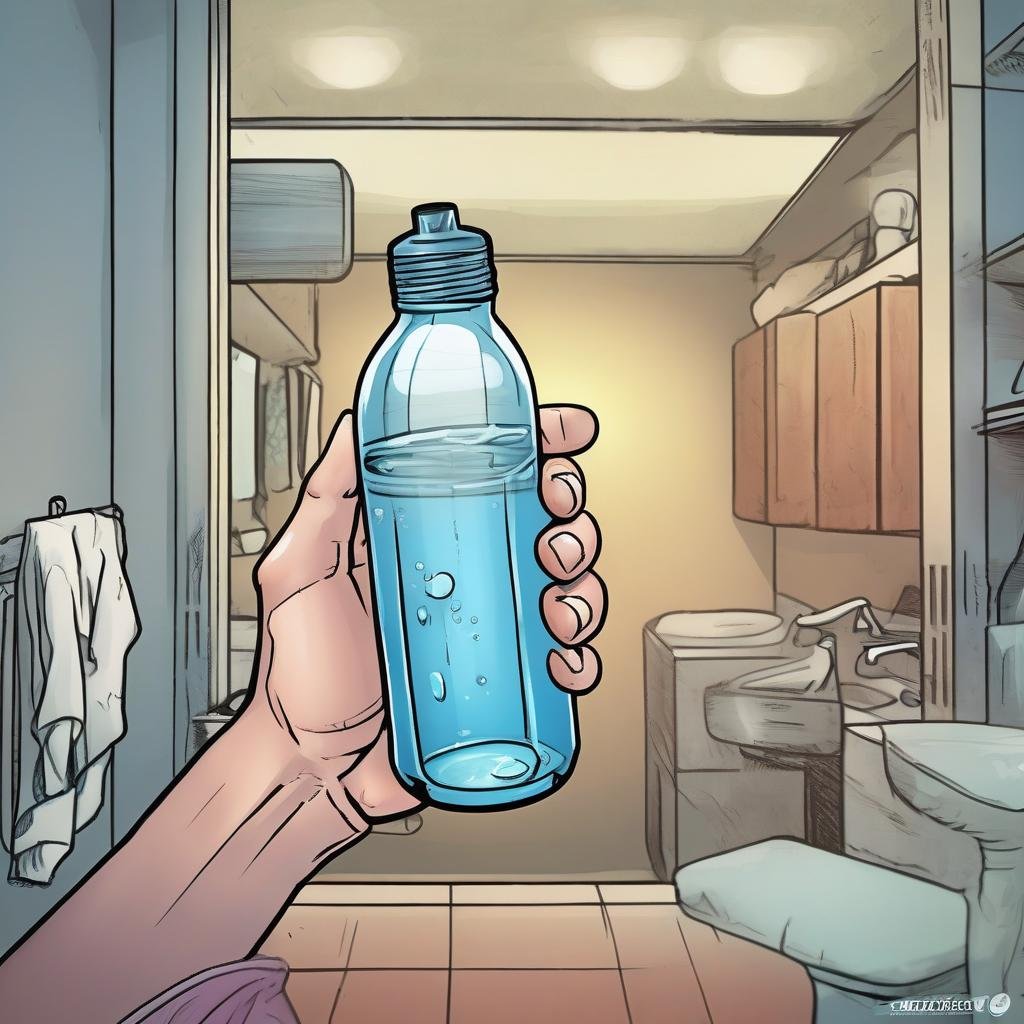
Comfort is key when you create your own Fleshlight. To enhance the experience, consider using a potato chip can or a flexible water bottle as a sturdy outer shell. Line the interior with soft materials like sponges or socks for added cushioning. You can also warm the materials slightly before use for a more realistic feel.
Pro Tip: Always test the temperature of warmed materials to ensure they are safe and comfortable.
Method 1: Towel and Rubber Glove Technique
Materials Required
To create your own Fleshlight using the towel and rubber glove technique, gather the following items:
- Towel: Choose a clean, soft towel for comfort.
- Rubber Glove: Opt for a medical-grade glove for safety.
- Elastic Bands: Use these to secure the materials.
- Lubricant: Select a water-based lubricant for ease of use.
Step-by-Step Guide
Folding and securing the towel.
Begin by laying the towel flat on a clean surface. Fold it lengthwise to create a thick, cushioned layer. Roll the towel into a cylindrical shape, ensuring it is tight enough to provide structure but not too tight to cause discomfort. Secure the rolled towel with elastic bands at both ends to maintain its shape.
Tip: Adjust the tightness of the roll to suit your preference for a customized experience.
Inserting and securing the glove.
Take the rubber glove and insert it into the center of the rolled towel. Ensure the glove’s opening is accessible and positioned at one end of the towel roll. Stretch the glove’s cuff over the towel’s edge to secure it in place. Use additional elastic bands if necessary to keep the glove firmly attached.
Note: Check for any tears or damage in the glove before use to ensure safety.
Maintenance Tips
Cleaning and reusing materials.
After each use, disassemble the components carefully. Wash the towel and glove with warm water and mild soap. Rinse thoroughly to remove all soap residue. Allow the materials to dry completely before storing them in a clean, dry place.
Pro Tip: Regular cleaning prevents bacterial growth and maintains hygiene.
Ensuring safe usage.
Inspect the materials for wear and tear before each use. Replace any damaged items to avoid discomfort or injury. Always apply a generous amount of water-based lubricant to enhance comfort and prevent friction.
Warning: Avoid using oil-based lubricants as they can degrade the glove material.
Method 2: Sponge and Plastic Bag Method
Materials Required
To create this version of a DIY Fleshlight, you will need the following items:
- Two soft sponges: Choose sponges that are clean, soft, and free of abrasive surfaces. Kitchen sponges with a smooth texture work well.
- Plastic bag: A small, clean plastic bag, such as a sandwich or freezer bag, will serve as the inner lining.
- Elastic bands: These will help secure the materials in place.
- Water-based lubricant: This ensures comfort and reduces friction during use.
Tip: Always inspect the materials for cleanliness and damage before starting. This step ensures a safe and hygienic experience.
Step-by-Step Guide
Preparing the sponges.
- Start by washing the sponges with warm water and mild soap. Rinse thoroughly to remove any residue.
- Allow the sponges to dry completely. Moisture can lead to bacterial growth, so this step is crucial.
- Once dry, place the sponges side by side on a clean, flat surface. Ensure the soft sides face inward, as these will form the inner lining.
Pro Tip: If the sponges are too large, trim them to a size that feels comfortable for you.
Assembling the plastic bag.
- Take the plastic bag and insert it between the two sponges. The bag should act as a barrier, preventing direct contact with the sponges.
- Fold the edges of the sponges around the bag to create a snug fit. Ensure the bag’s opening is accessible and positioned at one end.
- Use elastic bands to secure the sponges and bag together. Place the bands around the sponges at both ends to hold everything firmly in place.
Note: Double-check that the plastic bag is free of tears or holes. A damaged bag can compromise hygiene and comfort.
Maintenance Tips
Ensuring comfort and safety.
Before each use, inspect the materials for wear and tear. Replace any damaged components to avoid discomfort or injury. Always apply a generous amount of water-based lubricant to the inner lining. This reduces friction and enhances the overall experience.
Warning: Avoid using oil-based lubricants, as they can degrade the plastic bag and cause irritation.
Proper disposal after use.
If you plan to reuse the materials, disassemble the components and wash the sponges with warm water and mild soap. Rinse thoroughly and let them dry completely before storing them in a clean, dry place. Dispose of the plastic bag after each use to maintain hygiene.
For single-use setups, discard all materials responsibly. Place the used sponges and bag in a sealed trash bag to prevent contamination.
Environmental Tip: Consider using biodegradable sponges and recyclable plastic bags to reduce waste.
Method 3: Toilet Paper Roll Hack
Materials Required
To create a DIY Fleshlight using the toilet paper roll hack, you will need the following items:
- Toilet paper roll: A clean, empty roll provides the structure for this method.
- Soft cushioning material: Use items like sponges, socks, or foam to add comfort.
- Non-powdered glove: A stretchy, latex or nitrile glove works best as the inner sleeve.
- Elastic bands: These secure the materials in place.
- Water-based lubricant: Essential for safety and comfort during use.
Tip: Inspect all materials for cleanliness and damage before starting. This ensures a safe and hygienic experience.
Step-by-Step Guide
Modifying the toilet paper roll.
- Begin by preparing the toilet paper roll. Check for any rough edges or tears that could cause discomfort. If necessary, smooth the edges with scissors or tape.
- Place the roll on a clean, flat surface. Ensure it is sturdy enough to maintain its shape during use.
- If the roll feels too rigid, wrap it with a soft material like a towel or foam. This adds cushioning and prevents the roll from collapsing.
Note: Avoid using rolls with sharp or jagged edges, as these can cause injury.
Adding cushioning and texture.
- Insert the non-powdered glove into the center of the roll. Stretch the glove’s cuff over one end of the roll to secure it in place.
- Add cushioning by lining the interior of the roll with socks, sponges, or foam. This creates a soft, comfortable surface.
- Use elastic bands to hold the glove and cushioning materials firmly in place. Ensure everything is secure to prevent shifting during use.
- Apply a generous amount of water-based lubricant to the glove’s interior. This reduces friction and enhances comfort.
Pro Tip: Experiment with different cushioning materials to customize the texture and feel of your DIY Fleshlight.
Maintenance Tips
Avoiding sharp edges.
Inspect the toilet paper roll and other materials for sharp edges before each use. Cover any rough areas with tape or soft padding to prevent discomfort or injury. Regularly check the glove for tears or damage, as these can compromise safety.
Cleaning or disposing of materials.
After use, disassemble the components carefully. Wash reusable materials like socks or sponges with warm water and mild soap. Rinse thoroughly and allow them to dry completely before storing. Dispose of single-use items, such as the glove, responsibly by placing them in a sealed trash bag.
Environmental Tip: Opt for biodegradable or recyclable materials whenever possible to reduce waste.
Why This Method Works
- The toilet paper roll hack is simple to construct and uses common household items.
- Non-powdered gloves provide a safe, stretchy inner sleeve that minimizes the risk of rips.
- Applying lubricant enhances both safety and comfort, ensuring a better overall experience.
Reminder: Always prioritize hygiene and safety when creating and using a DIY Fleshlight. Regular maintenance and proper disposal are key to a safe and enjoyable experience.
Comparing DIY Fleshlights to Commercial Options
Advantages of DIY Fleshlights
Cost-effectiveness.
Creating a DIY Fleshlight can save you a significant amount of money. Most materials, such as towels, sponges, and gloves, are inexpensive or already available at home. Unlike commercial options, which can range from moderately priced to expensive, DIY alternatives allow you to achieve similar functionality without breaking the bank. For those on a tight budget, this approach offers an affordable solution.
Example: A DIY Fleshlight can cost as little as a few dollars, while commercial products often start at $50 or more.
Customizability.
DIY Fleshlights provide unmatched flexibility in design. You can experiment with different materials, textures, and sizes to create a product tailored to your preferences. Whether you prefer a softer feel or added texture, you have complete control over the final result. Commercial options, on the other hand, limit you to pre-designed models, which may not suit everyone’s needs.
Tip: Try combining materials like sponges and bubble wrap to create unique sensations.
Disadvantages of DIY Fleshlights
Limited durability.
DIY Fleshlights often lack the longevity of commercial products. Materials like sponges and gloves wear out quickly, especially with repeated use. You may find yourself frequently replacing components, which can become inconvenient over time. Commercial Fleshlights, made from durable materials, are designed to withstand extended use.

Note: Regular maintenance can slightly extend the lifespan of your DIY creation, but it won’t match the durability of a store-bought option.
Potential safety risks.
Homemade options carry a higher risk of safety issues. Improperly sanitized materials or sharp edges can lead to discomfort or injury. Additionally, using unsuitable lubricants or materials may cause skin irritation or allergic reactions. Commercial Fleshlights undergo rigorous testing to ensure they meet safety standards, reducing these risks.
Warning: Always inspect your DIY Fleshlight for damage before use to avoid potential harm.
Benefits of Commercial Fleshlights
High-quality materials.
Commercial Fleshlights are crafted from premium materials designed for comfort and durability. Many use medical-grade silicone or other skin-safe substances that mimic the feel of real skin. These materials are also easier to clean and maintain, ensuring a hygienic experience.
Example: Some commercial options feature patented materials like “SuperSkin,” which enhances realism and comfort.
Designed for safety and comfort.
Manufacturers design commercial Fleshlights with user safety in mind. They undergo extensive testing to eliminate risks such as sharp edges or harmful chemicals. Additionally, these products often include ergonomic designs that enhance comfort and usability. Features like adjustable tightness or built-in textures further improve the experience.
Pro Tip: Look for products with warranties, as they often indicate a commitment to quality and customer satisfaction.
Comparison Table
| Aspect | DIY Fleshlight | Commercial Fleshlight |
|---|---|---|
| Cost | Extremely cheap, if not free | Some can be a bit pricey |
| Customizability | You can make your own textures | Limited to available designs |
| Discreetness | More discreet than sex toys | Not discreet at all |
| Time to Create | Takes time to create | Ready to use |
| Longevity | May not last as long | Last much longer than DIY options |
| Warranty | None | Some come with a warranty |
| Maintenance | May require gloves or condoms | All are washable |
| Availability | Requires crafting materials | Available at brick-and-mortar shops |
Conclusion: While DIY Fleshlights offer affordability and customization, commercial options excel in durability, safety, and convenience. Your choice depends on your priorities and budget.
Creating a DIY Fleshlight offers affordability and customization, making it an appealing option for many. The methods outlined—towel and glove, sponge and plastic bag, and toilet paper roll hack—are simple, cost-effective, and adaptable to your preferences. Each technique allows you to experiment with materials while staying within budget.
Reminder: Always prioritize safety and hygiene. Use clean materials, sanitize reusable components, and dispose of single-use items responsibly. Neglecting these steps can lead to health risks.
When deciding between DIY and commercial options, consider your priorities. DIY solutions save money and allow creativity, but commercial products provide durability, safety, and convenience. Choose what aligns best with your needs and comfort.
FAQ
What is the safest material to use for a DIY Fleshlight?
Soft, non-abrasive materials like sponges, towels, or rubber gloves are the safest options. These materials minimize the risk of irritation or injury. Always ensure they are clean and free of harmful chemicals before use.
Tip: Opt for hypoallergenic materials to reduce the risk of allergic reactions.
How do I clean my DIY Fleshlight?
Disassemble the components and wash each part with warm water and mild soap. Rinse thoroughly to remove all residue. Allow the materials to dry completely before storing them in a clean, dry place.
Warning: Never use harsh chemicals, as they can damage the materials and irritate your skin.
Can I reuse my DIY Fleshlight?
Yes, you can reuse it if the materials are durable and properly cleaned after each use. Inspect for wear and tear before reusing. Replace any damaged components to ensure safety and comfort.
Note: Single-use items like plastic bags or gloves should be discarded after use.
What type of lubricant should I use?
Water-based lubricants are the safest choice. They are gentle on the skin, easy to clean, and compatible with most materials. Avoid oil-based or silicone-based lubricants, as they can degrade certain materials and cause irritation.
Pro Tip: Look for hypoallergenic water-based lubricants for added safety.
How can I make my DIY Fleshlight more comfortable?
Add cushioning materials like socks, foam, or sponges to enhance comfort. You can also warm the materials slightly before use for a more realistic feel. Always test the temperature to avoid burns.
Reminder: Experiment with different textures to customize your experience.
Are DIY Fleshlights environmentally friendly?
They can be, depending on the materials you use. Opt for biodegradable or recyclable items like natural sponges or reusable towels. Minimize the use of disposable materials to reduce waste.
Environmental Tip: Dispose of single-use items responsibly to protect the environment.
What are the risks of using a DIY Fleshlight?
Risks include irritation, allergic reactions, or injury from sharp edges or unsuitable materials. Improper cleaning can lead to bacterial growth, increasing the risk of infections. Always prioritize safety and hygiene.
Warning: Inspect materials carefully and follow proper cleaning guidelines to avoid health issues.
How does a DIY Fleshlight compare to a commercial one?
DIY Fleshlights are cost-effective and customizable but lack the durability and safety features of commercial options. Commercial products use high-quality materials and undergo rigorous testing, ensuring a safer and more comfortable experience.
Example: A DIY option may cost a few dollars, while commercial products start at $50 or more.